Activation
Getting Started
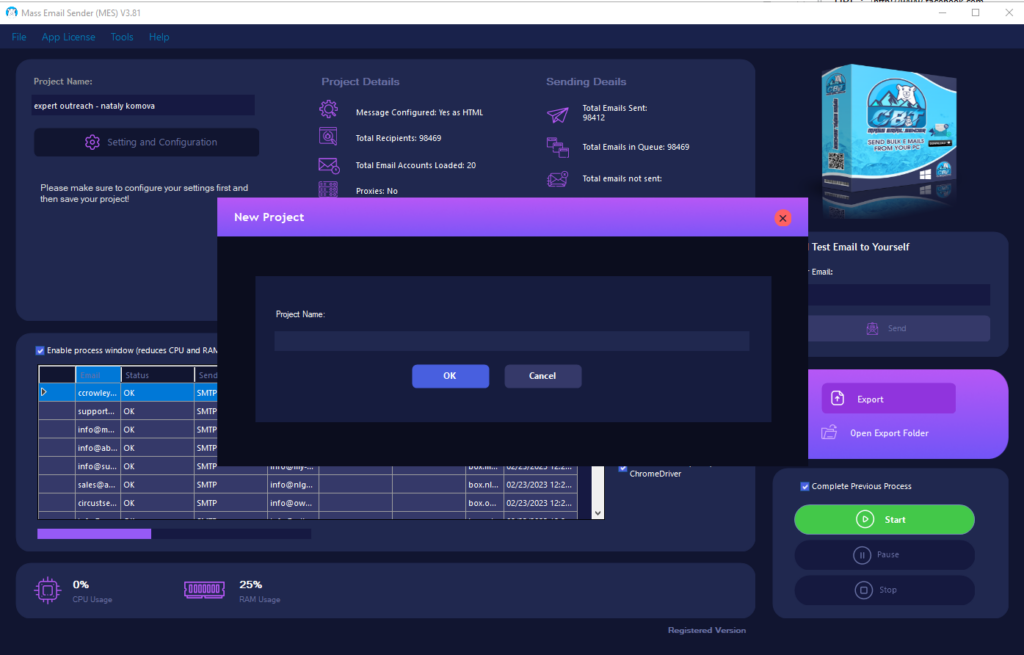
Create a new project
First, you will need to go to file -> new project and give it a name.
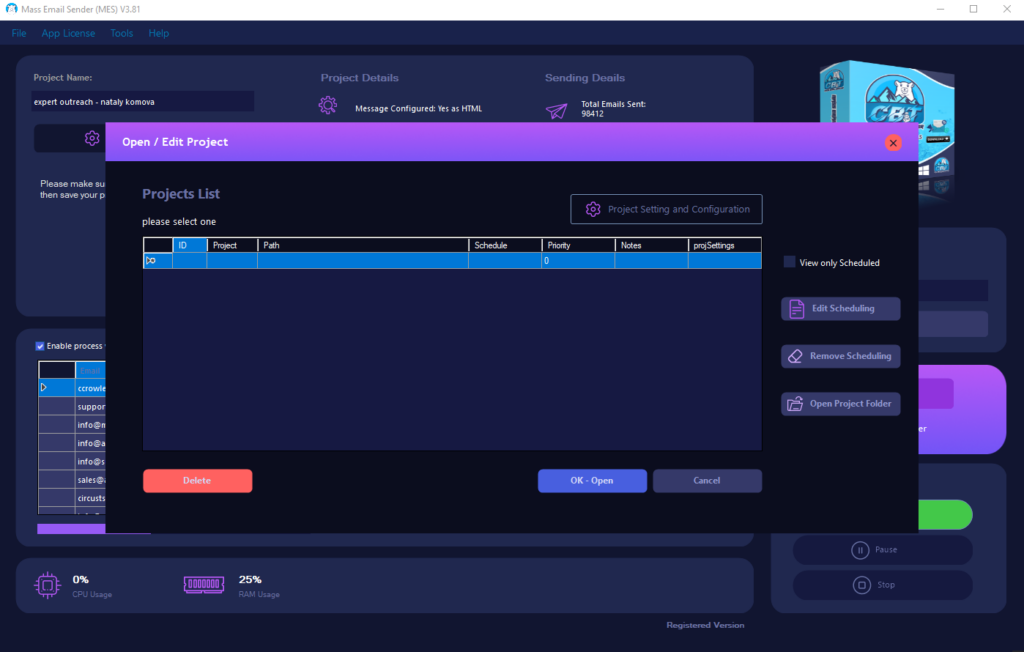
Open an Existing Project
If you already have an existing project, go to file and select open/edit project. If you have multiple projects, you can schedule them inside this section.
Settings – Contacts (your email list)
You will need to have a list of email addresses to which you will be sending emails. We suggest that you clean your email list to avoid bounces and spam traps which can affect your inbox rate. You can either upload a notepad text file with one email per line or an entire .csv database scraped with CBT Email Extractor. For the latter, you will be able to use macros inside your message.
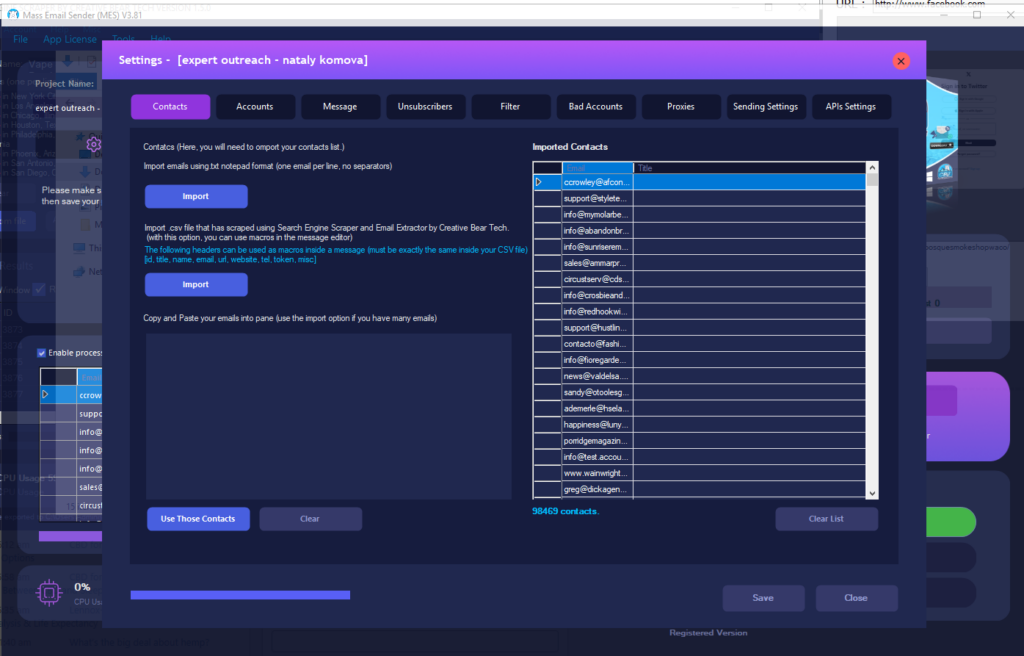
Macros
In order to use macros inside your message, you will need to import your csv file with identical headers: id, title, name, email, url, website, tel, token, misc
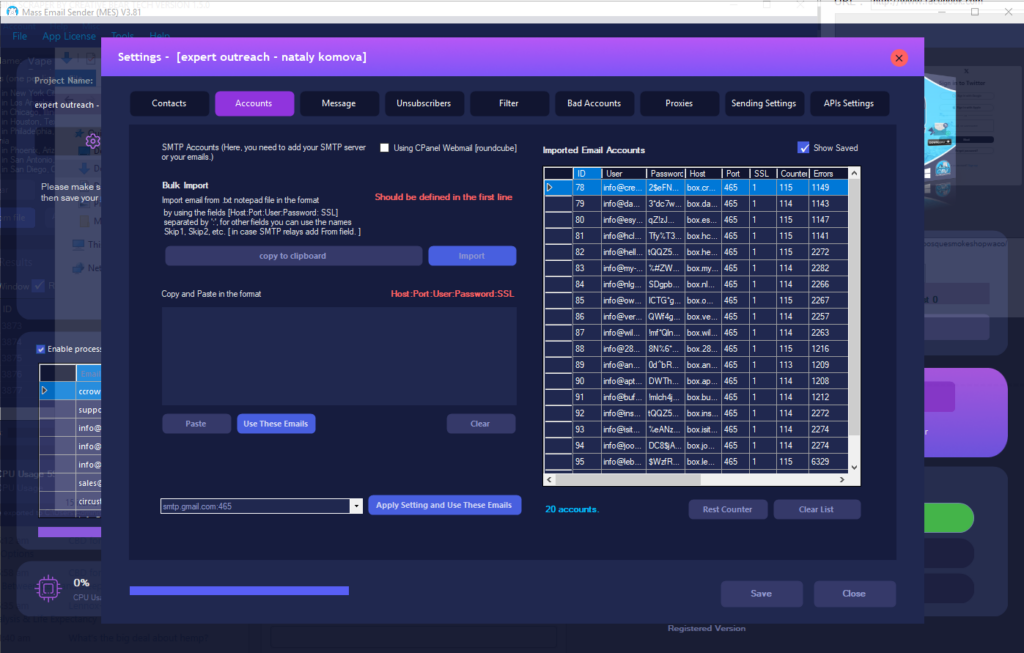
Settings – Accounts
Here, you should upload your SMTP relays for sending emails in this format: HOST:PORT:USER:PASSWORD:SSL. For SSL section, 0 = no SSL and 1 = SSL.
You can also use many free email services for sending emails but we strongly recommend buying your own smtp relays as those will be more reliable. You can also send email using rouncube webmail.
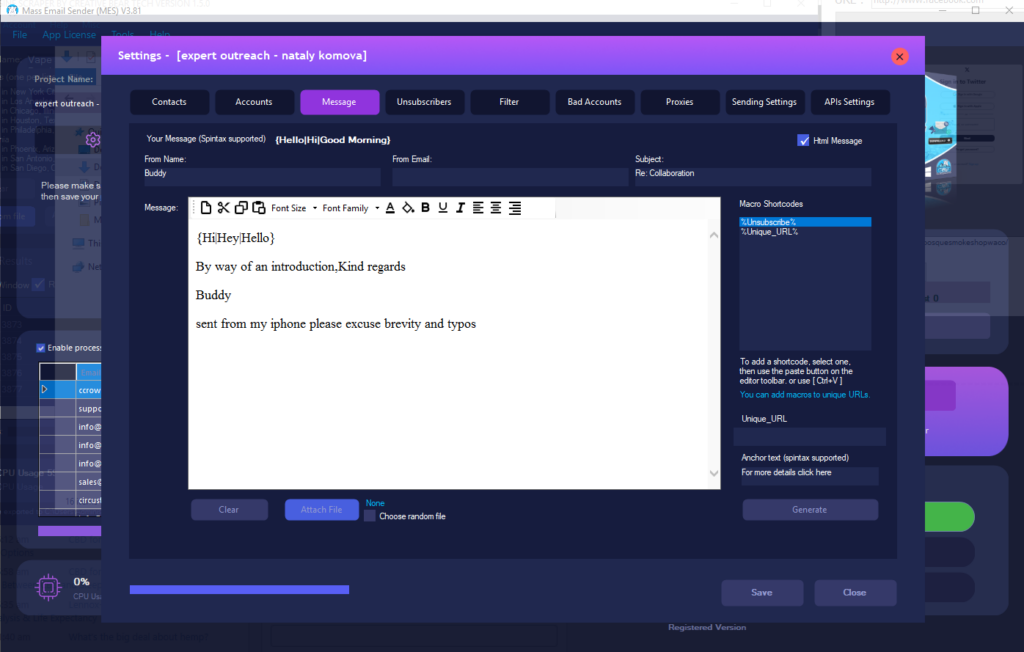
Settings – Message
Here, you should add your message that you want to send out. Spintax format is supported. For example, you could have {Hello|Hi|Good Afternoon} and all three will be rotated to ensure that your message is unique in the eyes of spam filters and email service providers. You can add a custom name, subject and from email. Enable HTML message option to style and format your message. You can also generate a unique url using the %Unique_Url% macro. You will need to enter the bitly API credentials under the API tab. You can also add an %unsubscribe% macro to allow email recipients to unsubscribe. All the unsubscribe requests will need to go to your designated mailbox. The software will then access your inbox and product a list of all unsubscribers.
Settings – Unsubscribers
Here, you can add an inbox for receiving all unsubscribe requests. You will need to enter the host:port:user:password:ssl for the inbox. You can tell the software the check for unsubscribers at set intervals. The software will extract all unsubscriber emails and exclude it from the current project.

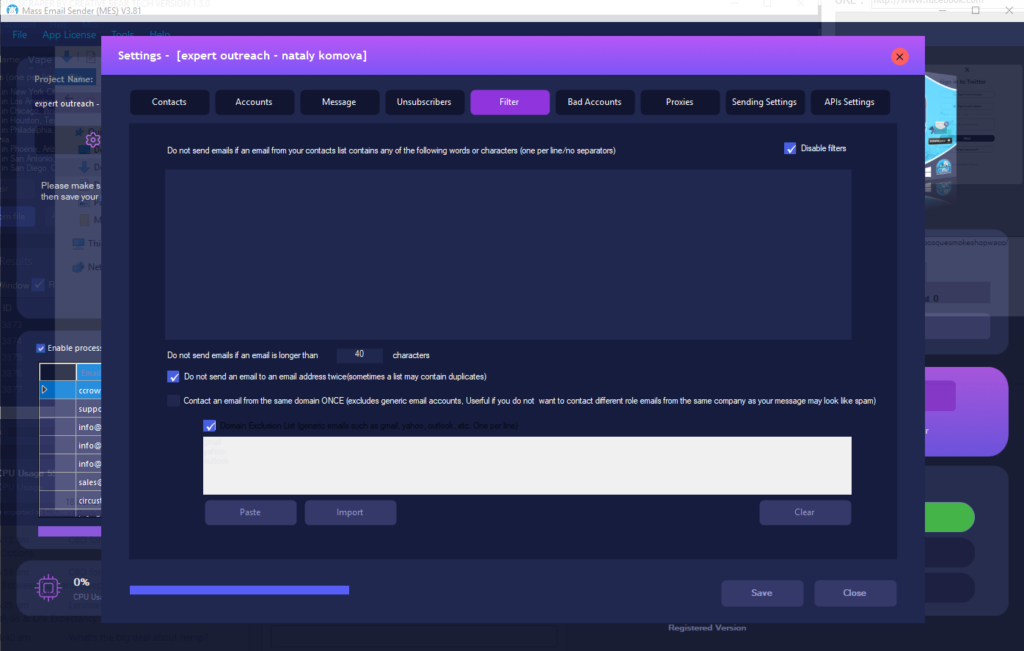
Settings – Filter
Here, you can exclude emails with certain keywords or character length. You can also select the option not to send more than one email to a domain as company domains tend to have different role emails and you do not want to be spamming every person from the same company.
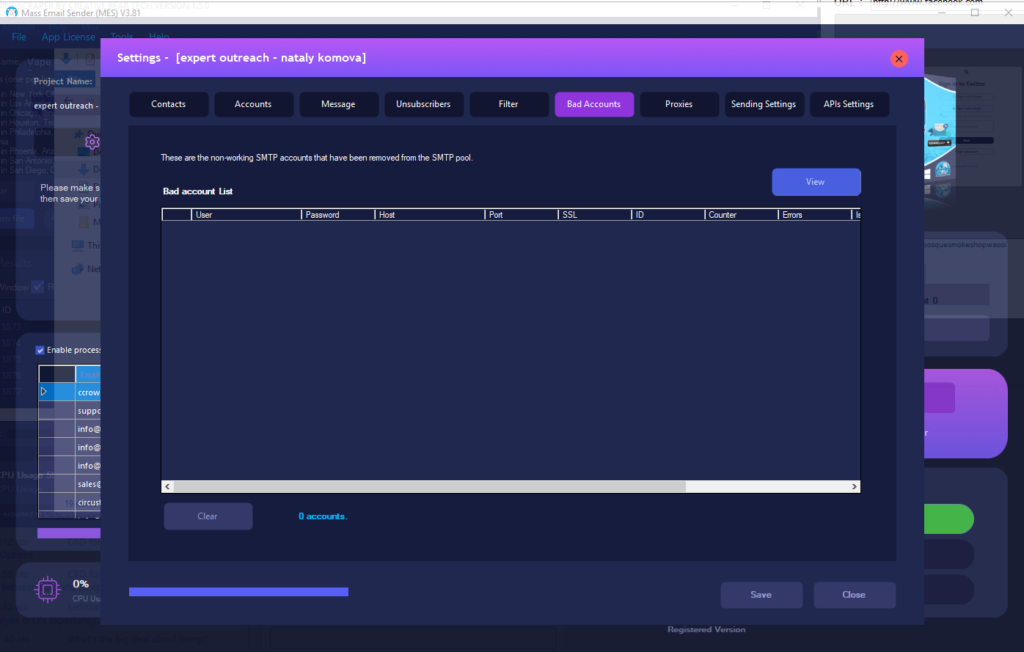
Settings – Bad Accounts
These are your SMTP accounts that are not working. You may want to investigate them. Sometimes, the software may encounter issues with your smtp accounts but it does not mean that they are not working, so please check.
Settings – Proxies
You can add your own proxies for sending emails. If you use your own proxies, the bulk email sender will send emails directly from your proxies rather than your SMTP accounts. If you enable the public proxy scanner, it will find new public proxies and use them for mailing in real time. Ensure that you add enough sources into the public proxy scanner. Please enable this section ONLY if you want to send your emails using proxies. If you are going to send your emails via SMTP relays or directly, there is no point of enabling the proxies.

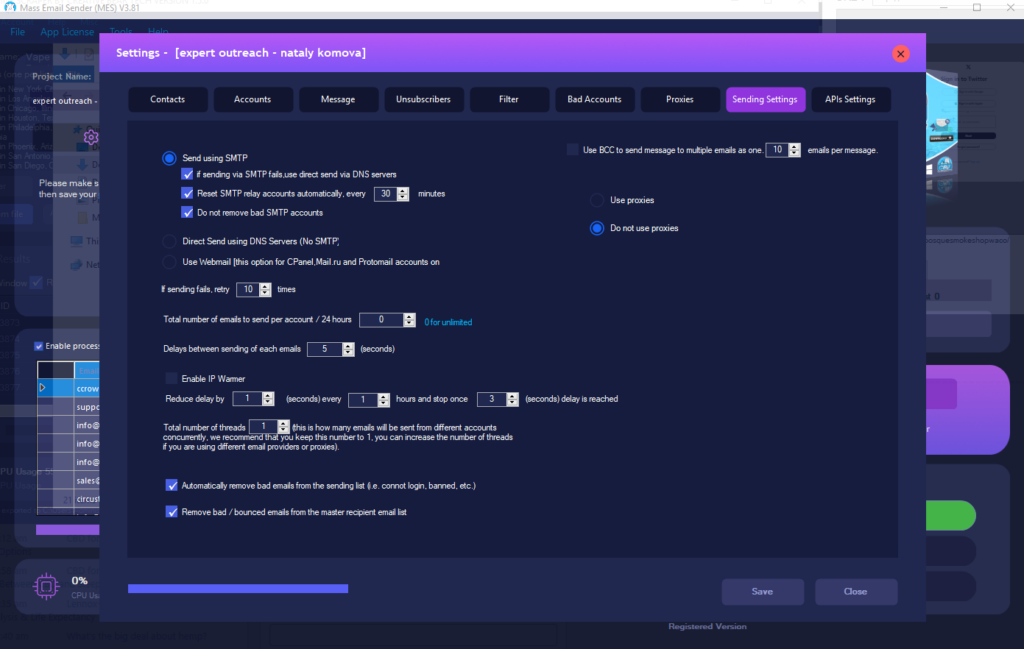
Settings – Sending Settings
Here, you can configure the software to send emails either via your smtp servers, system dns or proxies. When using system DNS to send emails, the software will send emails using your local IP address and system DNS without the need for SMTP servers. When sending emails via proxies, the bulk email sender will send emails via your proxies.
You can specify the total number of emails to send within a 24 hour period and the delay between each email. You can also use the IP warmer wherein the sending rate will gradually increase. You will need to set a high initial delay between the sending of each email and tell the software to reduce it incrementally and stop once it reaches your preferred delay. This is a good way of warming up your sender’s reputation and will help you to achieve a higher inbox rate.
You can use BCC to send an email to multiple recipients. You can also automatically reset your smtp relay accounts at set intervals. We recommend this option to keep your software running without any interruptions, especially whenever there is a temporary issue with your smtp relays.
You can also clean your email list by automatically removing bad/bounced emails from your master recipient list.
Once you have configured your settings, you should send a test email to yourself to ensure that everything looks good. The sending stats will be displayed on the main gui of the mass email sender.
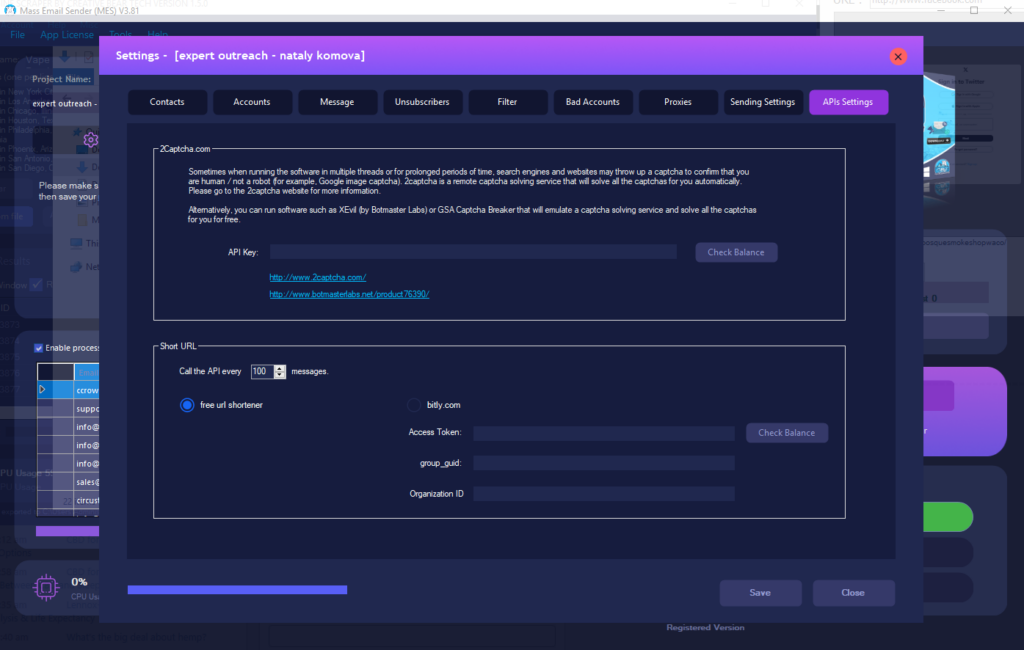
API Settings
Here, you can enter your API settings for bitly url shortener and 2captcha remote captcha solving service.
Useful Tips
- Always clean your email list to avoid bounces, honey traps and blacklists
- We recommend using your own smtp relays.
- What you input inside your message will affect your inbox rate so make sure not to use spam keywords.
- Use spintax format to keep every email unique.
- Start slow and use our IP warmer to warm up your sender’s reputation.
- Do not spam. This software is not intended for spamming people but for genuine business purposes.
- Use CBT Email Extractor to scrape your own email lists.